Attaching T1 11 Siding

T1 11 Plywood Siding Theplywood Com
How To Build A Shed Install Shed Siding
Introduction To T1 11 Plywood Siding Youtube

Behind The Walls A Look At Structural T1 11 Ncw Home Inspections Llc

Drip Cap Placement With T1 11 Siding Windows And Doors Diy Chatroom Home Improvement Forum

All T1 11 Is Not Created Equal Youtube

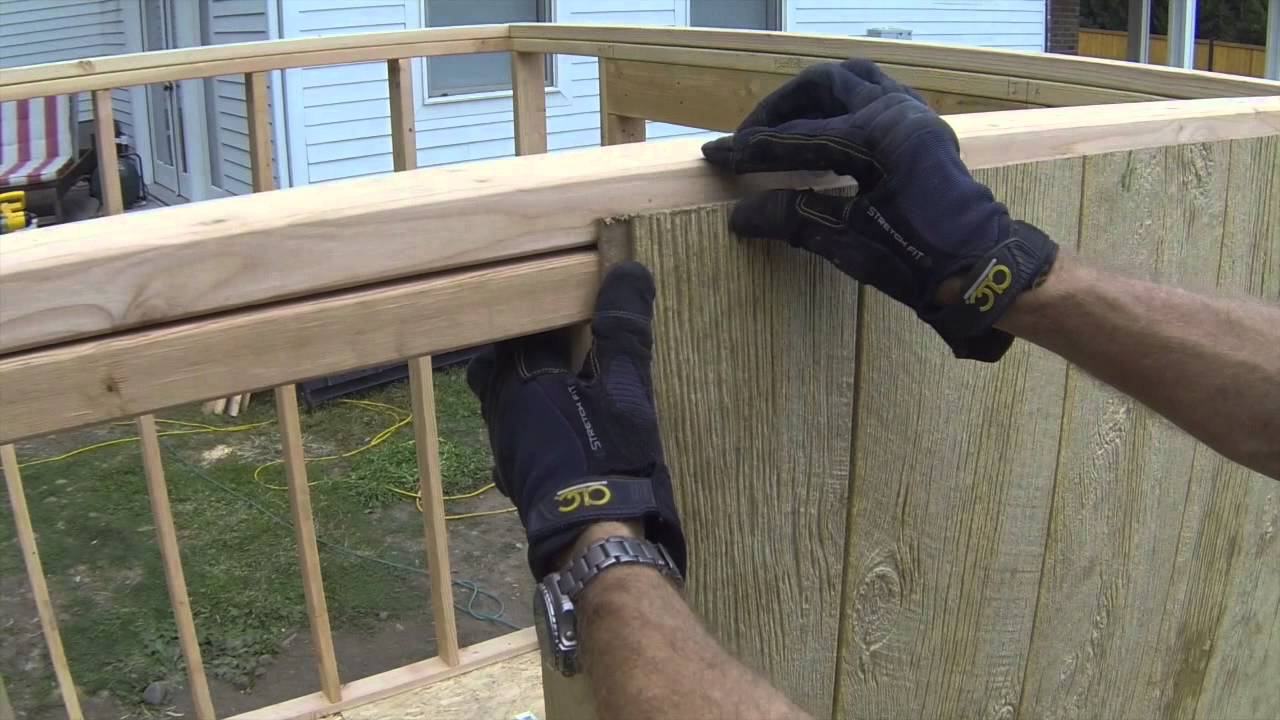
An experienced carpenter can put up a sheet of t1 11 almost faster than the eye can follow.
Attaching t1 11 siding.
Shed Door Plans Step By Step Construct101

Building A Shed From Scratch Installing Siding And Building A Roof

Got The Siding Up And It Looks Awesome T111 Youtube
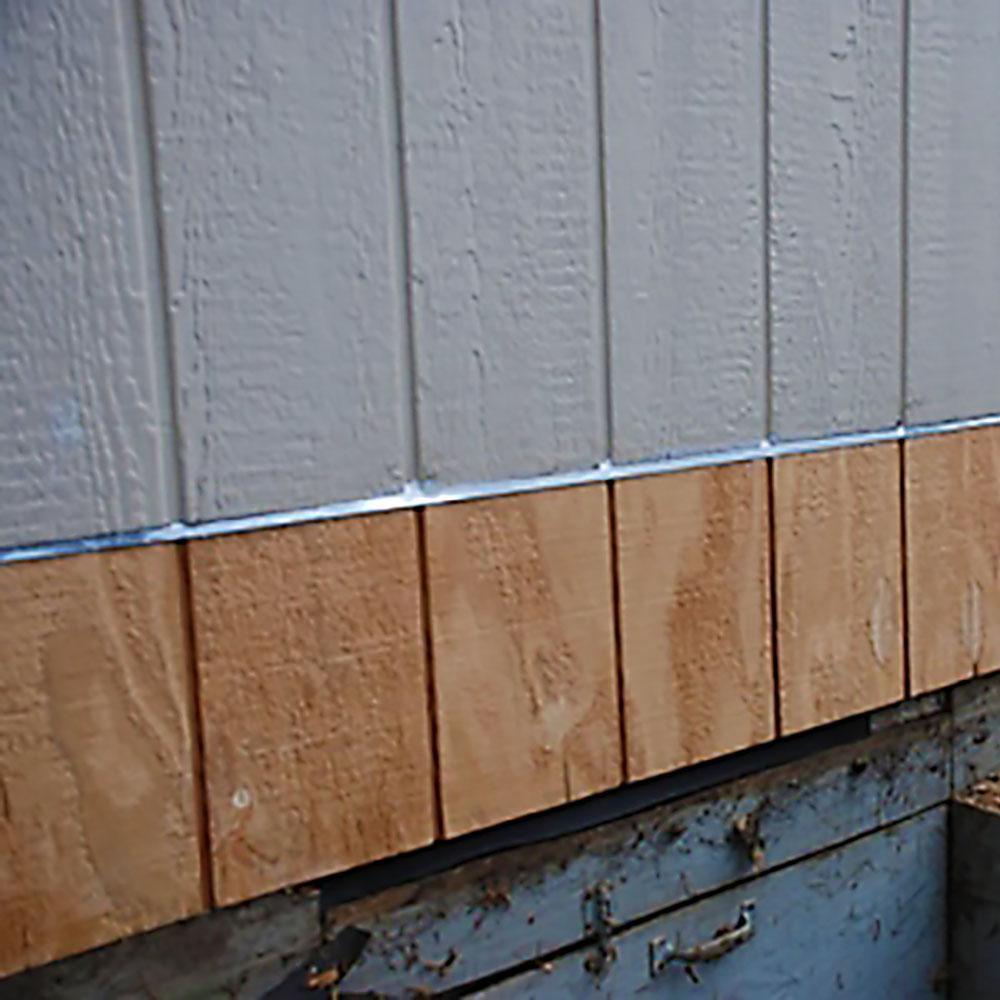
T 111 Flashing With Trim Jlc Online Forums
T1 11 Siding Installed Horizontally Home Improvement Stack Exchange

We Don T Need No Stinkin Flashing Carpentry Contractor Talk

How To Replace Rotted T1 11 Siding Lp Siding Siding Repair Siding
Basics Of T1 11 Siding Doityourself Com
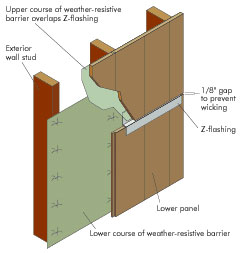
Installing Installing Z Flashing

T1 11 Siding Pros And Cons Installation Costs And Maintenance
Gibraltar Building Products 3 8 In X 10 Ft Galvanized Steel Z Bar Flashing Szb38g The Home Depot

What Fasteners For T1 11 Siding Air Fasteners Inc Carrollton Tx

T1 11 Siding Next To Deck Doityourself Com Community Forums

Oh The Choices Of Siding Exterior Siding House Siding House With Porch

T111 Siding T111 Siding House Paint Exterior Board And Batten Exterior

Siding T1 11 Diy Siding House Siding Exterior Siding

Overlay Of Hardie Plank Siding Over Plywood T1 11 Response Crew

Priming T1 11 Siding With Oil Primer Exterior House Siding Exterior Siding Exterior House Colors
Https Encrypted Tbn0 Gstatic Com Images Q Tbn 3aand9gcsvgptqqd4ydqle B9i0fjsfy3iakiljumdgmfcdzgzkcw6al M Usqp Cau

How To Install T1 11 Siding Home Guides Sf Gate
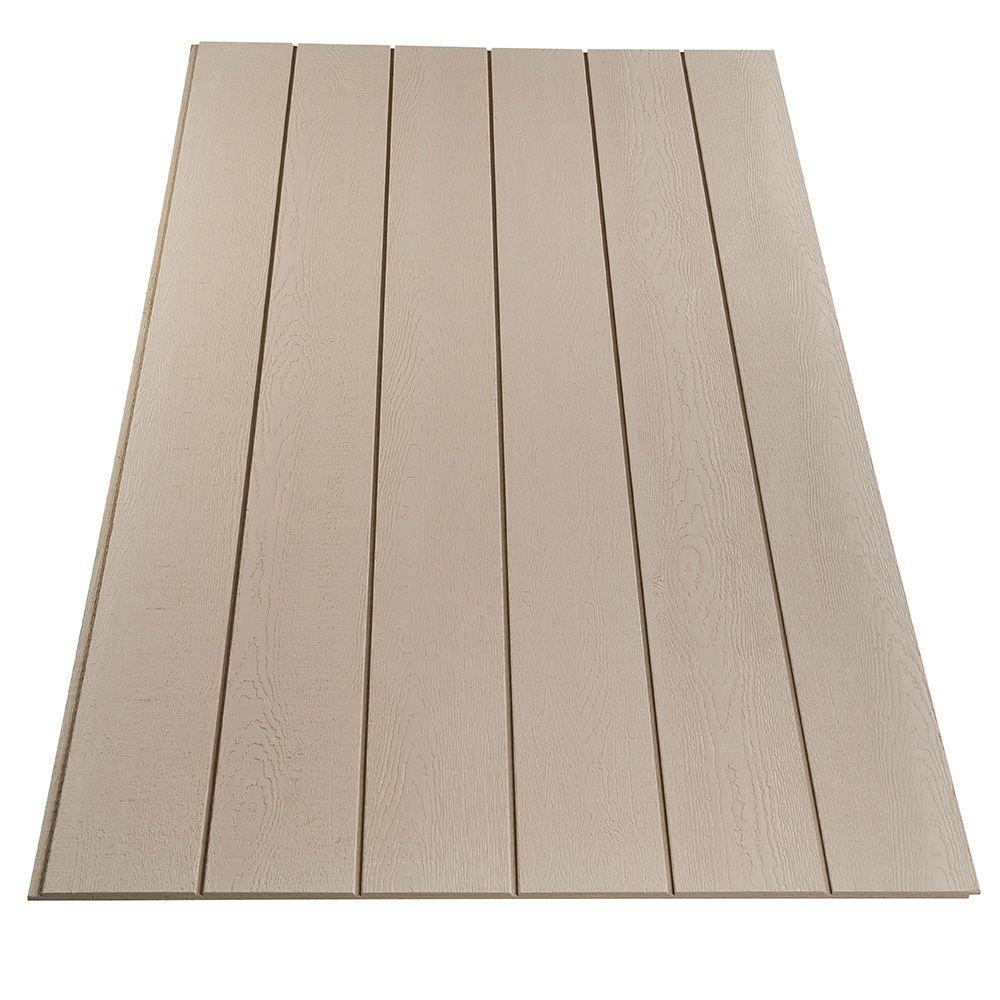
Duratemp 0 563 In X 48 In X 96 In Primed 8 In Oc T1 11 Plywood Siding Panel 871934 The Home Depot

Sean And Penny S House July 2008 Porch Ceiling Porch Ceiling Lights House Paint Exterior

Log Home Restoration Taskmasters Wood Maintenance Part 9 House Exterior Exterior House Colors Exterior Siding Colors

Repairing And Replacing Sheet Siding Jlc Online
Source : pinterest.com
